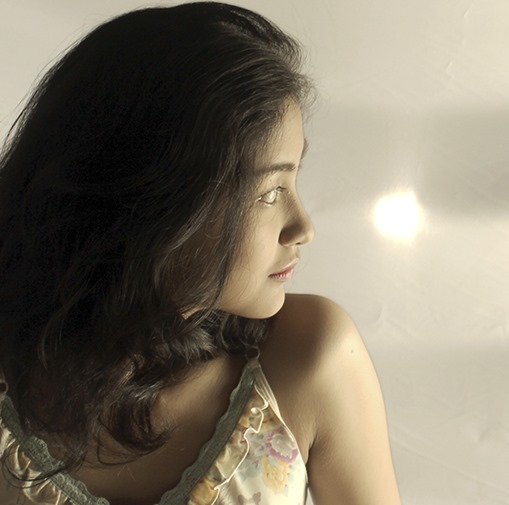
Many friends of mine asked me how to create a photo effect like that. And now I will give this double exposure tutorial on Photoshop. It’s easy and quick. Just be selective to which photos you want to edit.
Okay, so, I choose these 3 photos of mine from last year photoshoot. It’s kinda weird to edit your own photos actually, but I couldn’t find the right photos so I choose to use mine.
And for another effect, I add another tiny beautiful flower picture I found on Pinterest.
Let’s open your Photoshop.
Step 1
I open my first example photo above on Photoshop and do nothing with it. And then I add my second photo above my first photo. Set the blending option of the second photo to Lighten. So it will look like this.
Step 2
Because I want to add a monochrome effect on my photo. So I add another layer adjustment with Black and White gradient, and Exposure, so it will look like this.
Step 3
The last step is to add the flower photo to give some dramatic effect. Simply add the flower photo above all of layers. And set the blending mode to Lighten. The result will be like this.
See? It’s very easy for us to create double exposure photos with Photoshop. And don’t be afraid to experiment with your photos because the blending mode I choose is Lighten and probably doesn’t match with your photos. My favorite blend mode for double exposure is Lighten, Soft Light, Overlay, and Pin Light.
I hope this tutorial will be useful for you. Thank you!


thank you so much!
ReplyDeleteYou're welcome!
Delete